The Ford vi.0L engine was made for Ford by International, and, like the 7.3L, it has had its share of bug. In general, both of these engines have provided skilful service. I outcome commonly seen on the 6.0 is a condition where the heads develop micro-size cracks inside the injector bores of the heads. These cracks are pocket-sized, only they can lead to big issues.
1. The first step of the diagnosis it is to remove the valve covers on both heads. Then drain the coolant. You will demand to remove the coolant passage plugs in the heads to get the level low enough to exercise the leak examination.
Since the fuel system in modern diesels runs at ultra-loftier pressures, even a tiny fissure can create a path for trouble. The about common result of cracks in the six.0L injector bores inside the head is fuel finding its way into the cooling system. Once this happens, you can get frothing of the coolant and so the safety components in the cooling system volition brainstorm to deteriorate.
In the past, the only solution was to supersede the offending head. This was a plush proposition, until now. Bullet Proof Diesel fuel introduced a unique tool to set your half dozen.0's cracked caput woes—their half dozen.0L Cylinder Head Repair Kit.
Using the latest technology available, the Bullet Proof Diesel cylinder head repair tool kit simply seals the small cracks in the injector bores. This may seem like snake oil to some, but the truth is the infinite-historic period fissure bonding cement has proven reliable, durable and long lasting. In truth, information technology's more common for a dissimilar injector diameter to develop a crack, than to take one repaired properly with their kit to leak again.
two. The leak test is best done one caput at a time. First, the fuel track are removed from the passenger-side head to access the injectors.three. Each injector is removed and set aside. It'due south a good idea to go on the injectors in social club, so you can audit each one and have note of any other issue you have on a cylinder-by-cylinder basis.4. With the injectors out, y'all need to carefully make clean and so dry out each injector bore. In gild to do the leak exam, the cooling system needs to be closed up, so supercede the bleed plugs in the head.5. Install the condom stoppers in each injector diameter in the one head you're working on. The bore is and then filled with WD-40. Believe it or not, this makes a great chimera test solution and unlike soapy water, it won't contaminate your fuel system.
We stopped in at Domestic Diesel in Chino, California, to run across how this new head repair kit from Domestic Diesel works. Owner John Ferguson walked us through the process. He reminds us that not all 6.0L head issues can be repaired using this kit. Withal, for those that it tin can address, the toll of the repair is much lower than a new prepare of heads.
If your Ford 6.0L is showing signs of fuel in the coolant, the Bullet Proof Diesel vi.0L Cylinder Head Repair Kit could be the solution. Information technology'south unproblematic enough to use that a competent weekend mechanic, familiar with the Ford diesel fuel, can use information technology. Remember, while this kit might fix your problem, if your heads are beyond repair, they will have to come up off. This is a huge task and best left to a shop, unless you really love to become upwards to your elbows inside diesel engines.
Follow along and nosotros'll evidence you the highlights of fixing injector diameter cracks on a Ford 6.0L. DW
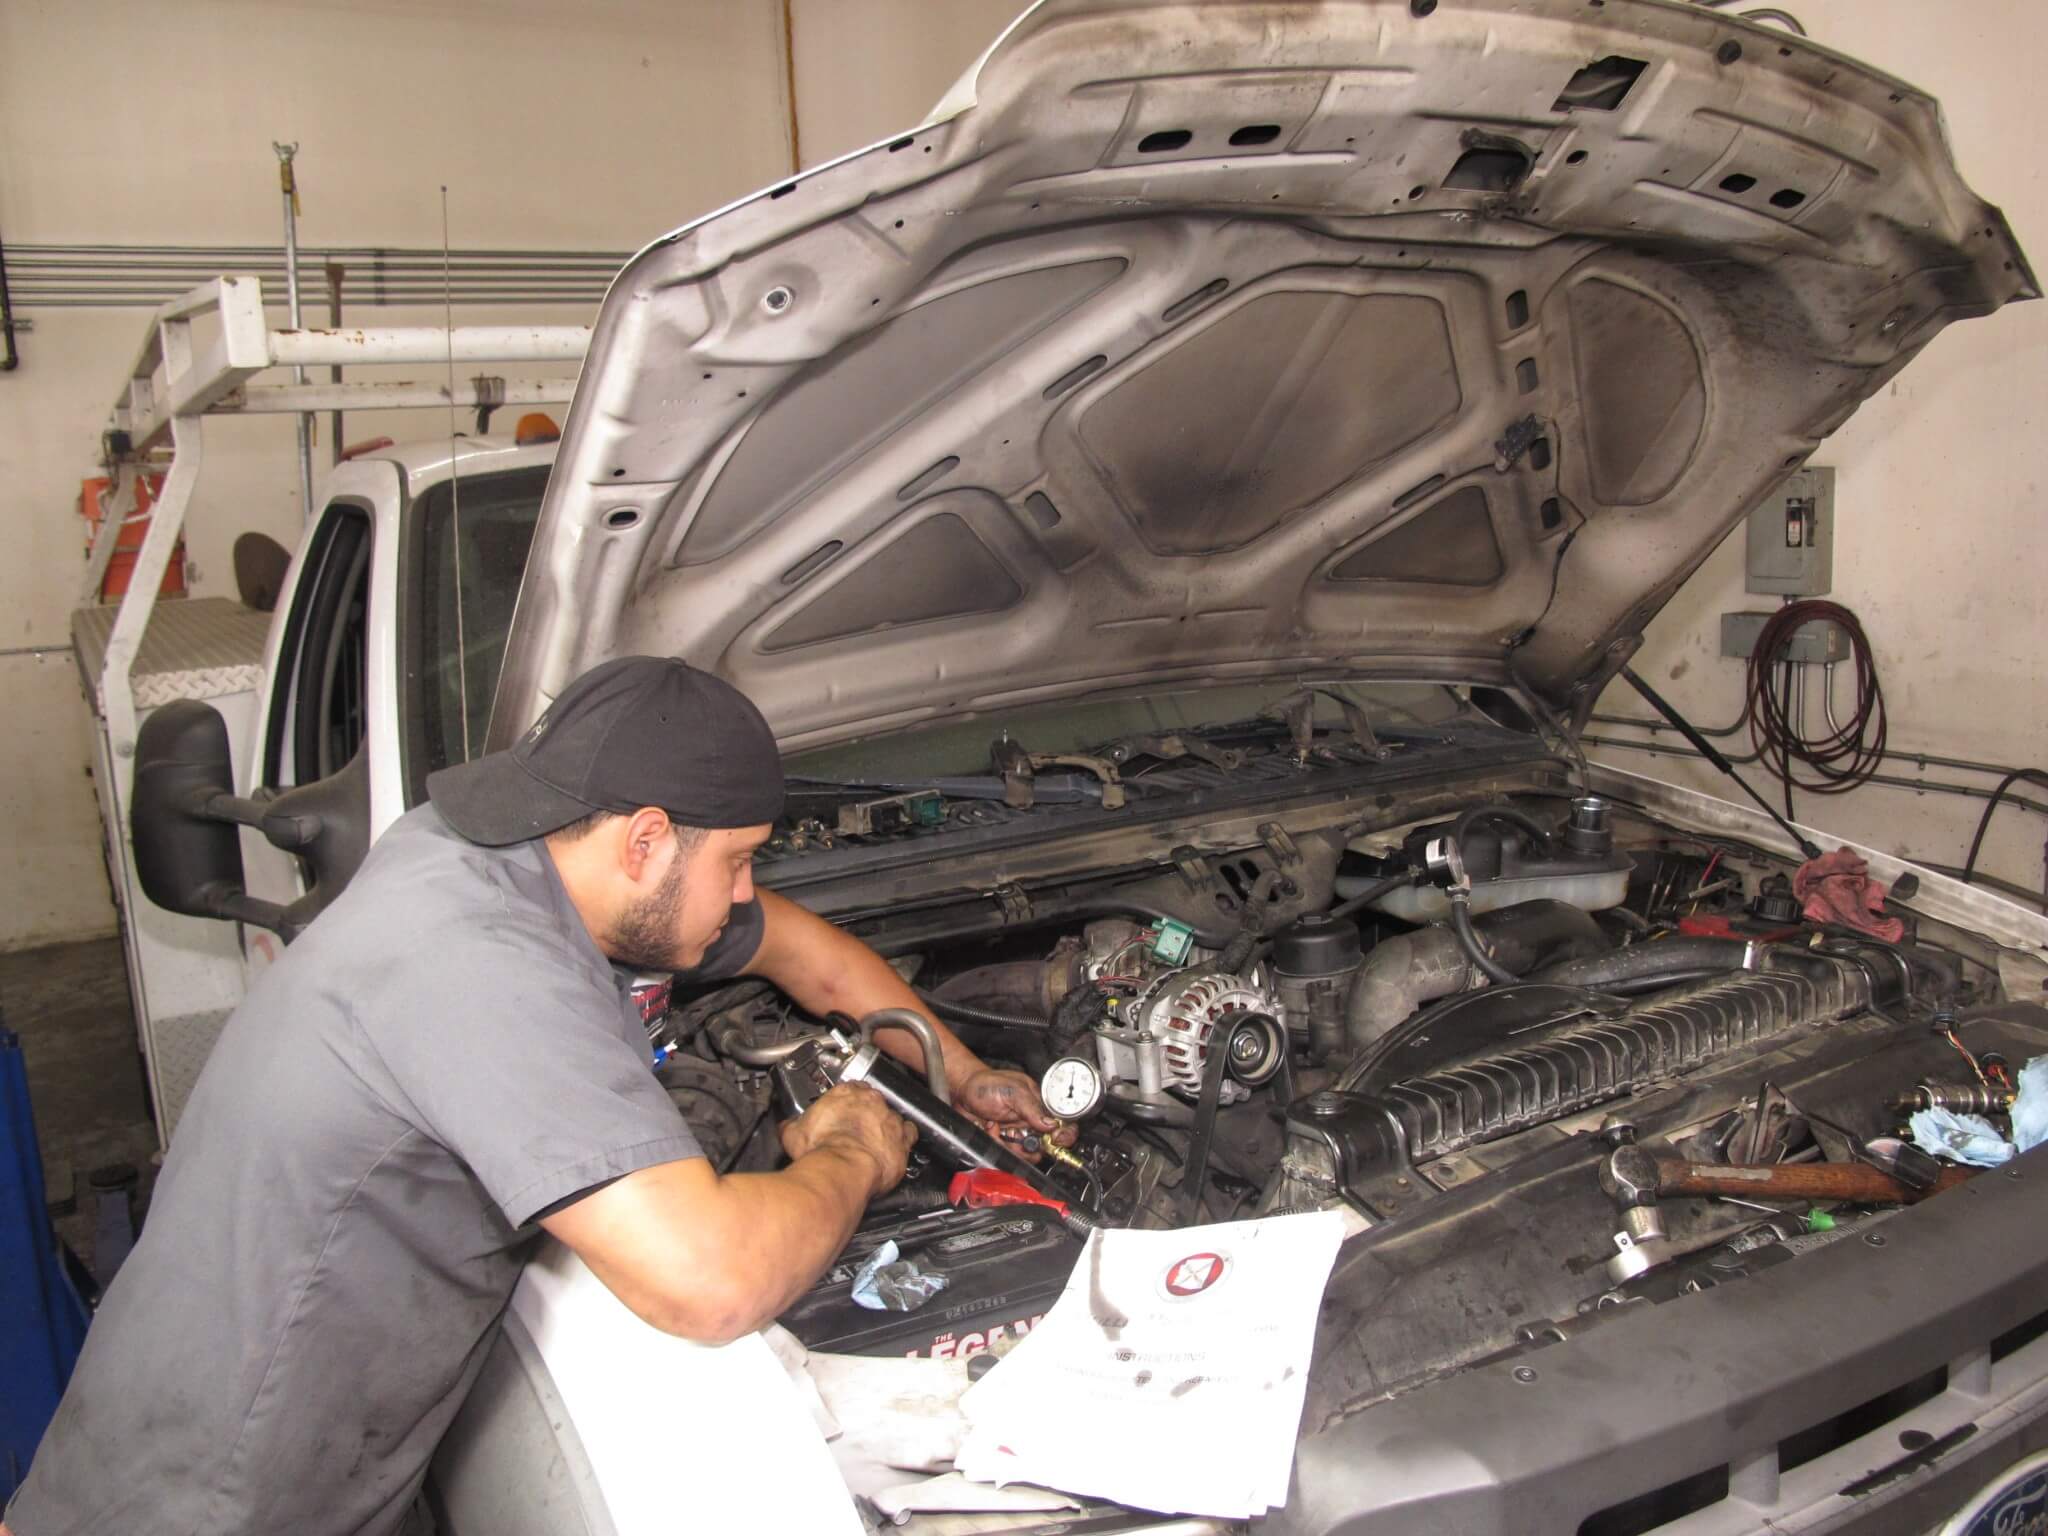
half dozen. Pressurize the cooling organisation to no more that 20 psi and and then cheque the injector bores for bubbling. Bubbling ways a crevice in that injector bore. None and that cylinder is fine.7. This is what a bad injector bore looks like with the test. Bubbles means a cleft in that injector diameter. None and that cylinder is fine.8. Once the head has been checked and any bad injector bore noted, you can begin the repair. First, the injector bores that need to be fixed must be completely cleaned and stale. Forget to practise this and the crack set repair will neglect.ix. This is the first of two major components of the Bullet Proof injector bore repair kit for the vi.0L Power Stroke engine. This tool fits into the injector bore and is indexed to always face the same management in relationship to the head/bore alignment. This ensures that the crack sealant is always targeted at the proper location. Apparently, the crack in the bore is always in the same location. We speculate that this must exist due to an inherent flaw in the blueprint of the head.10. It'southward important to lube the bore repair tool before each use. Follow the instructions to the letter to ensure a proper repair.11. Afterward installing a gumball-sized plug of newspaper inside the injector bore, per the instructions, the tool in inserted into the injector bore.12. The EOM injector clench is used to secure the diameter repair tool in place.13. The sealant is inserted into the injector diameter through the center hole in the bore repair as well. The kit comes with four tubes; if you lot need more, they can exist hands purchased. This sealant will flow into the crack and seal it, repairing an issue that otherwise would require a new head. You must employ i full tube per croaky injector bore.fourteen. To obtain the pressure needed to force the sealant into the injector bore fissure, hydraulic activity is required. A simple grease gun is all that's needed but a special tool in the kit ensures that yous achieve the proper pressure.15. The sealant phase requires that your guess read 500 psi for the start of the repair. The pressure is left on for 10 to 15 minutes and the pressure will drop over time. Once information technology reaches zero, you tin can move on to the next cylinder that needs repair.sixteen. One time y'all take finished one head, you can push things up and move on to cheque and repair the other head. Caution! The cleft sealant must be immune to cure for a minimum of 24 hours, 72 hours if the temp is below seventy degrees F. Failure to practice so will result in the leak returning. Then practise not even turn the key on as this pressurizes the fuel track. Best to keep the bombardment disconnected. Don't forget to replace any coolant hoses contaminated by the leaking fuel and it's recommended to supervene upon the O-rings on the intake manifold and the front end engine encompass too. These are also subject area to contagion from fuel in the coolant.17. Here yous see the contents of the Bullet Proof Diesel six.0L Cylinder Head Repair Kit.18. The Bullet Proof Diesel repair kit comes in a loftier-impact case for storage.


0 Response to "How To Clean Ford 6.0 Diesel Injectors"
Post a Comment